
Overview
This guide explains how to use the Triple Whale Data-In for Google Sheets template to upload Products, Subscriptions, Ads, and Post-Purchase Survey data directly to Triple Whale without writing any code.
With the Google Sheet Data-In Template, you can:
- Upload multiple data types manually: Send Products, Subscriptions, Advertising, and Survey data to your Triple Whale workspace.
- Bypass coding requirements: The sheet is pre-configured with a built-in script that sends your data through the API, no technical setup required.
- Validate before sending: Catch formatting issues or missing fields with the built-in validation tool.
- Check responses in logs: Each submission generates a detailed log in the
TW_Logstab so you can confirm success or review any errors.
To automate this process, you can also use the Data-In API endpoints directly.
Prerequisites
Before you begin, make sure you have:
- A Triple Whale Account with API Access: You’ll need to generate an API Key with write permissions for the endpoints you plan to use. See Creating and Managing API Keys for details.
- A Google Account: Any account works; using a dedicated service account is recommended for security.
- Your Data: Prepare your Products, Subscriptions, Ads, or Survey data — either exported from your systems or formatted manually following the sample structure in each template.
Step 1. Copy the Template
-
Open the Google Sheet Data-In Template.
-
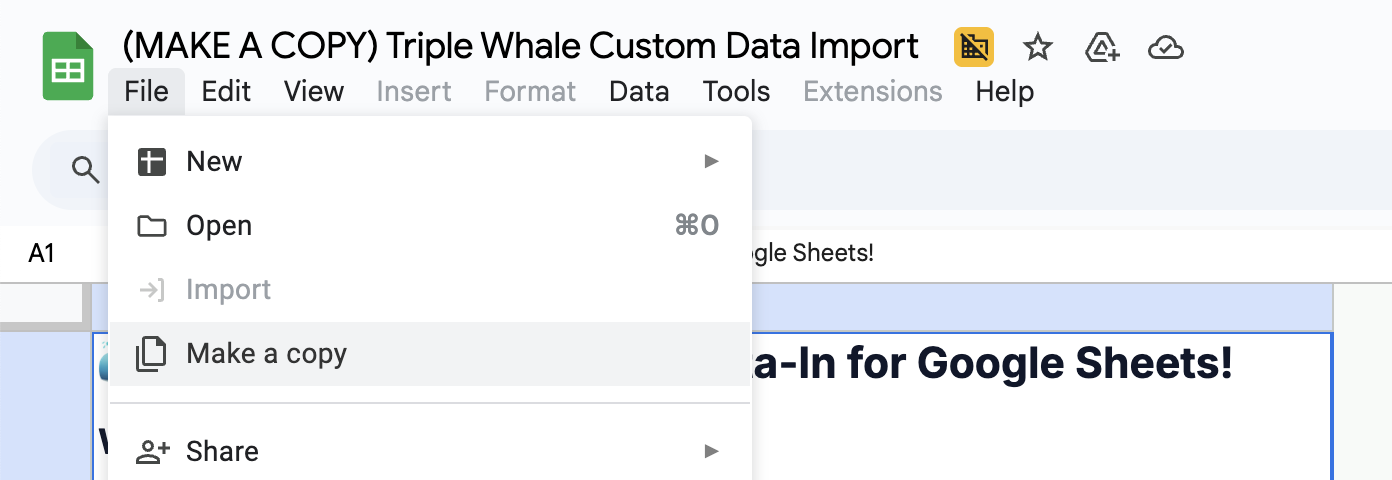
In Google Sheets, click File > Make a copy. The original version is view-only — you must make your own copy before editing.
-
Rename your copy (e.g., “Upload Data to Triple Whale”) and click Make a copy.
Step 2. Configure Your API Connection
-
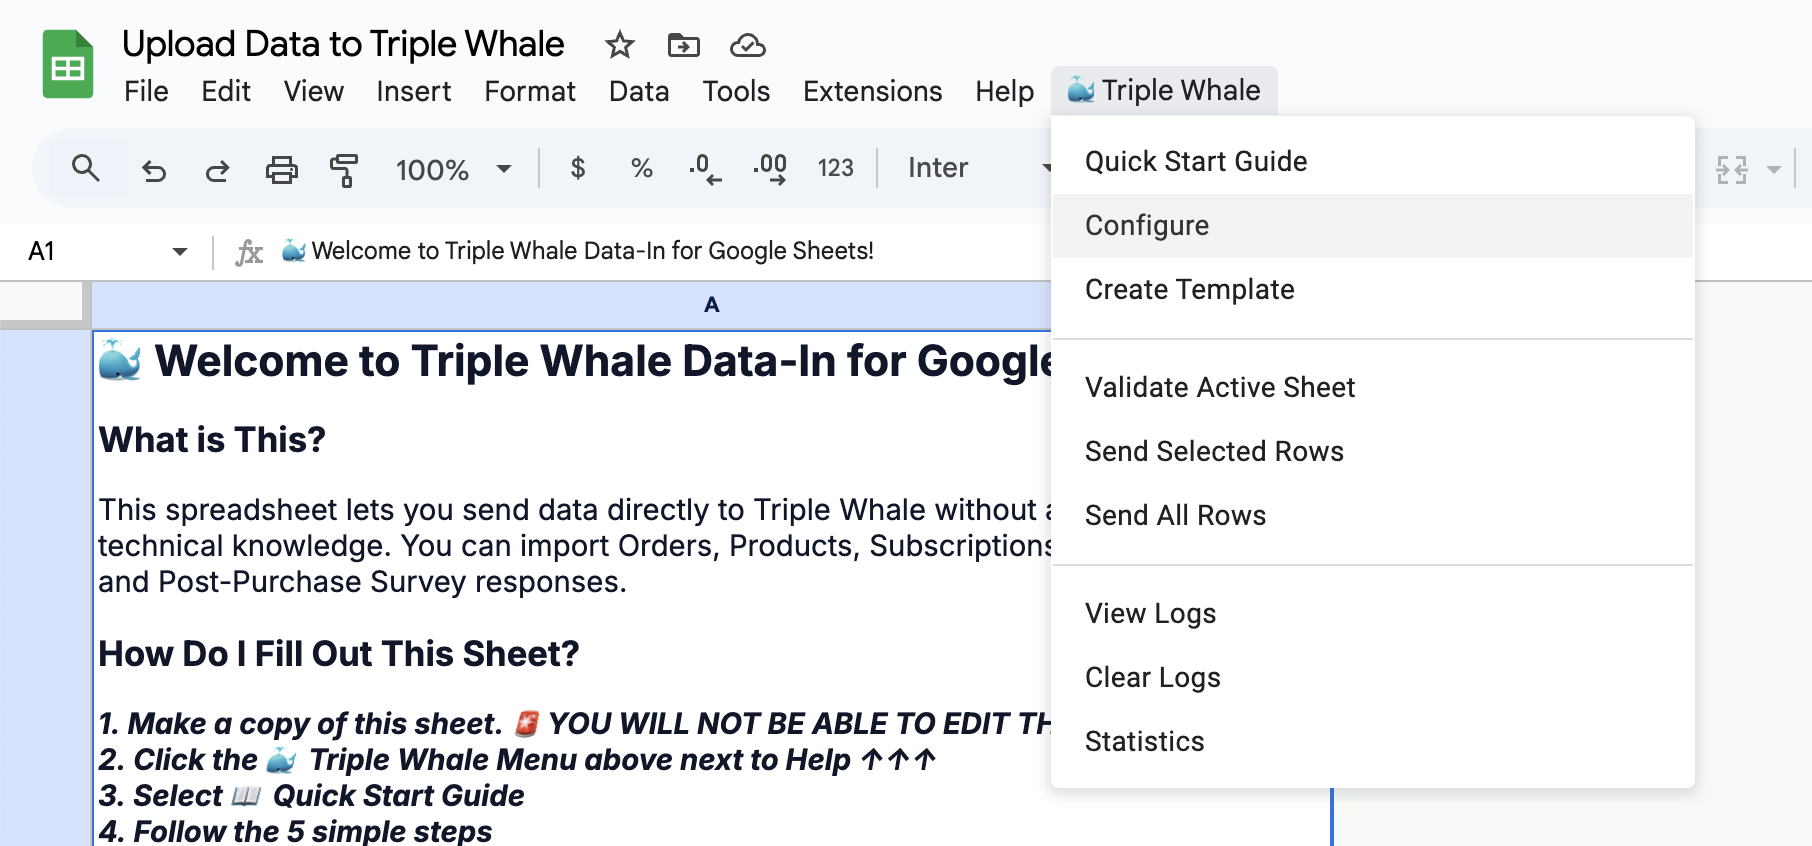
In the menu bar, click Triple Whale → Configure. (First time only: Click OK to authorize the script to run, sign in to your Google account, and grant the requested permissions.)
-
Enter your Store URL (e.g.,
myexampleshop.com) and your API Key (see Creating and Managing API Keys.)
-
Click Save.
Step 3. Create a Template
-
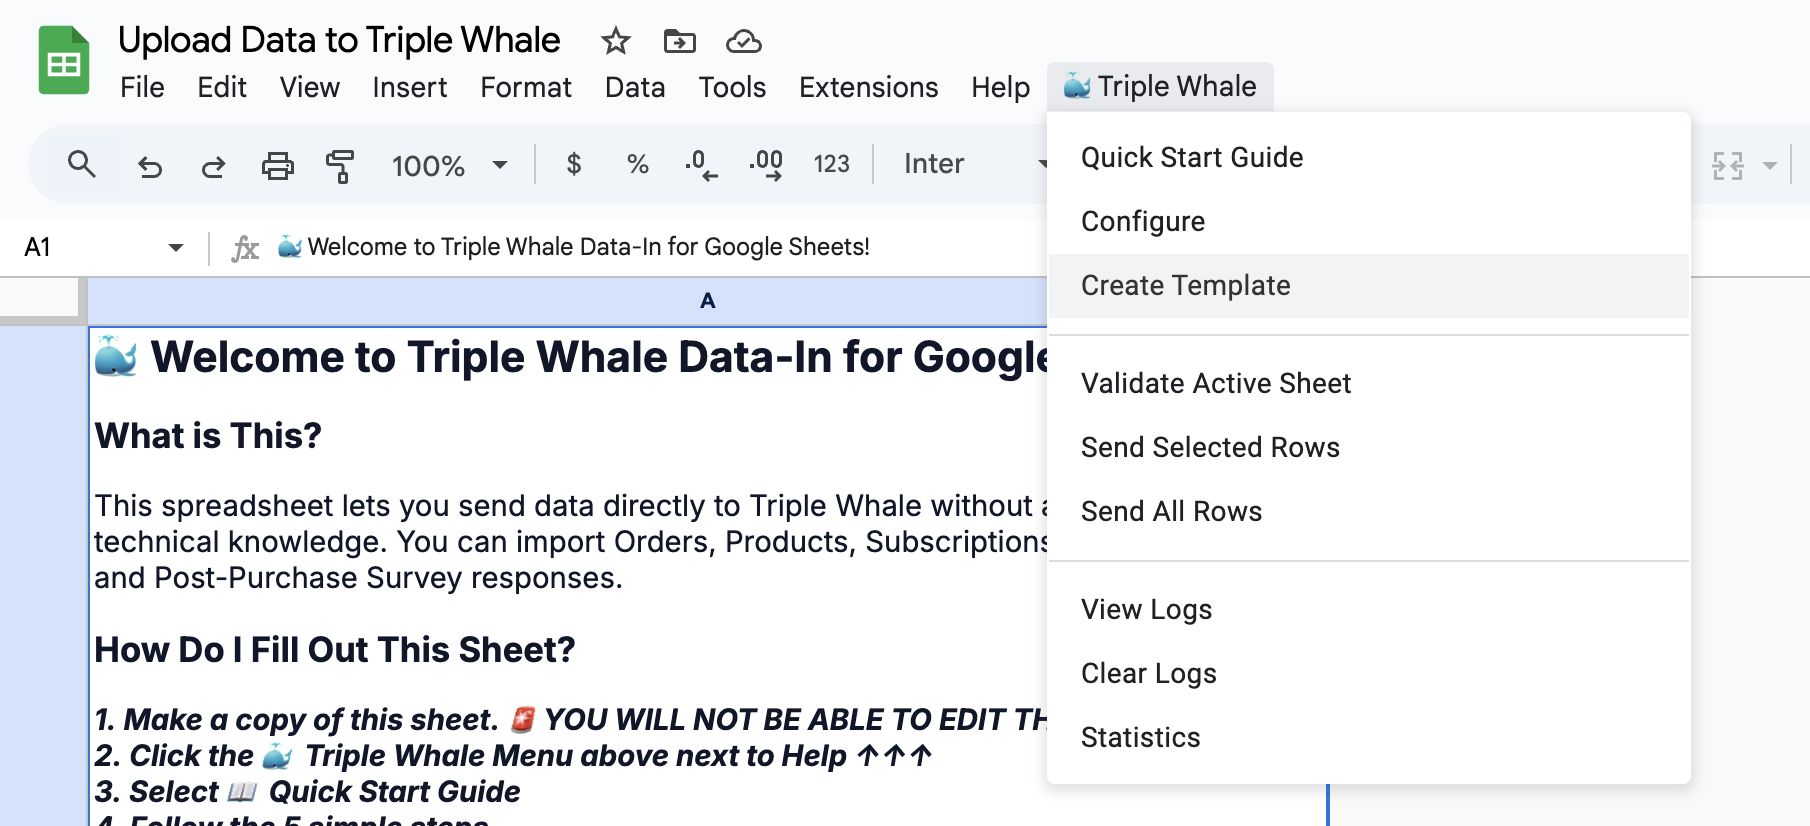
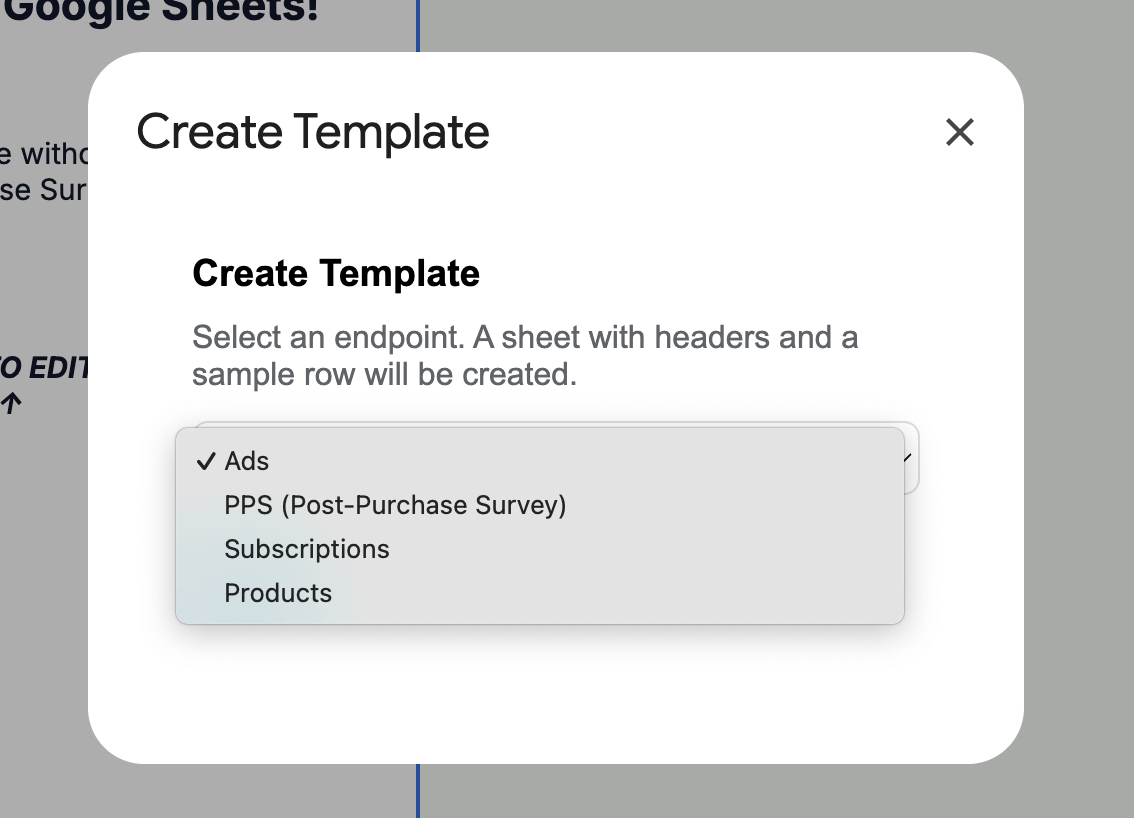
In the Google Sheet menu, click Triple Whale → Create Template.
-
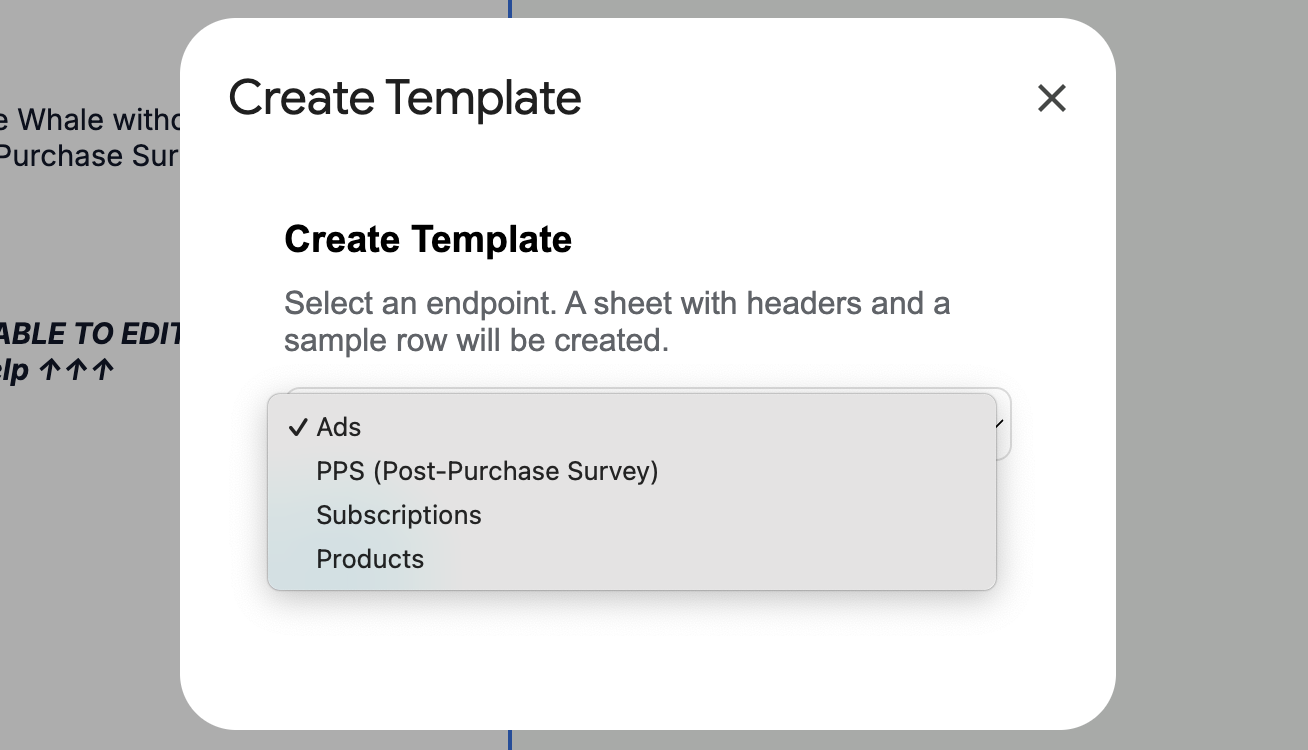
Choose which endpoint you want to send data to: Products, Subscriptions, Ads, or PPS (Post-Purchase Survey)).
-
Click Create Template.
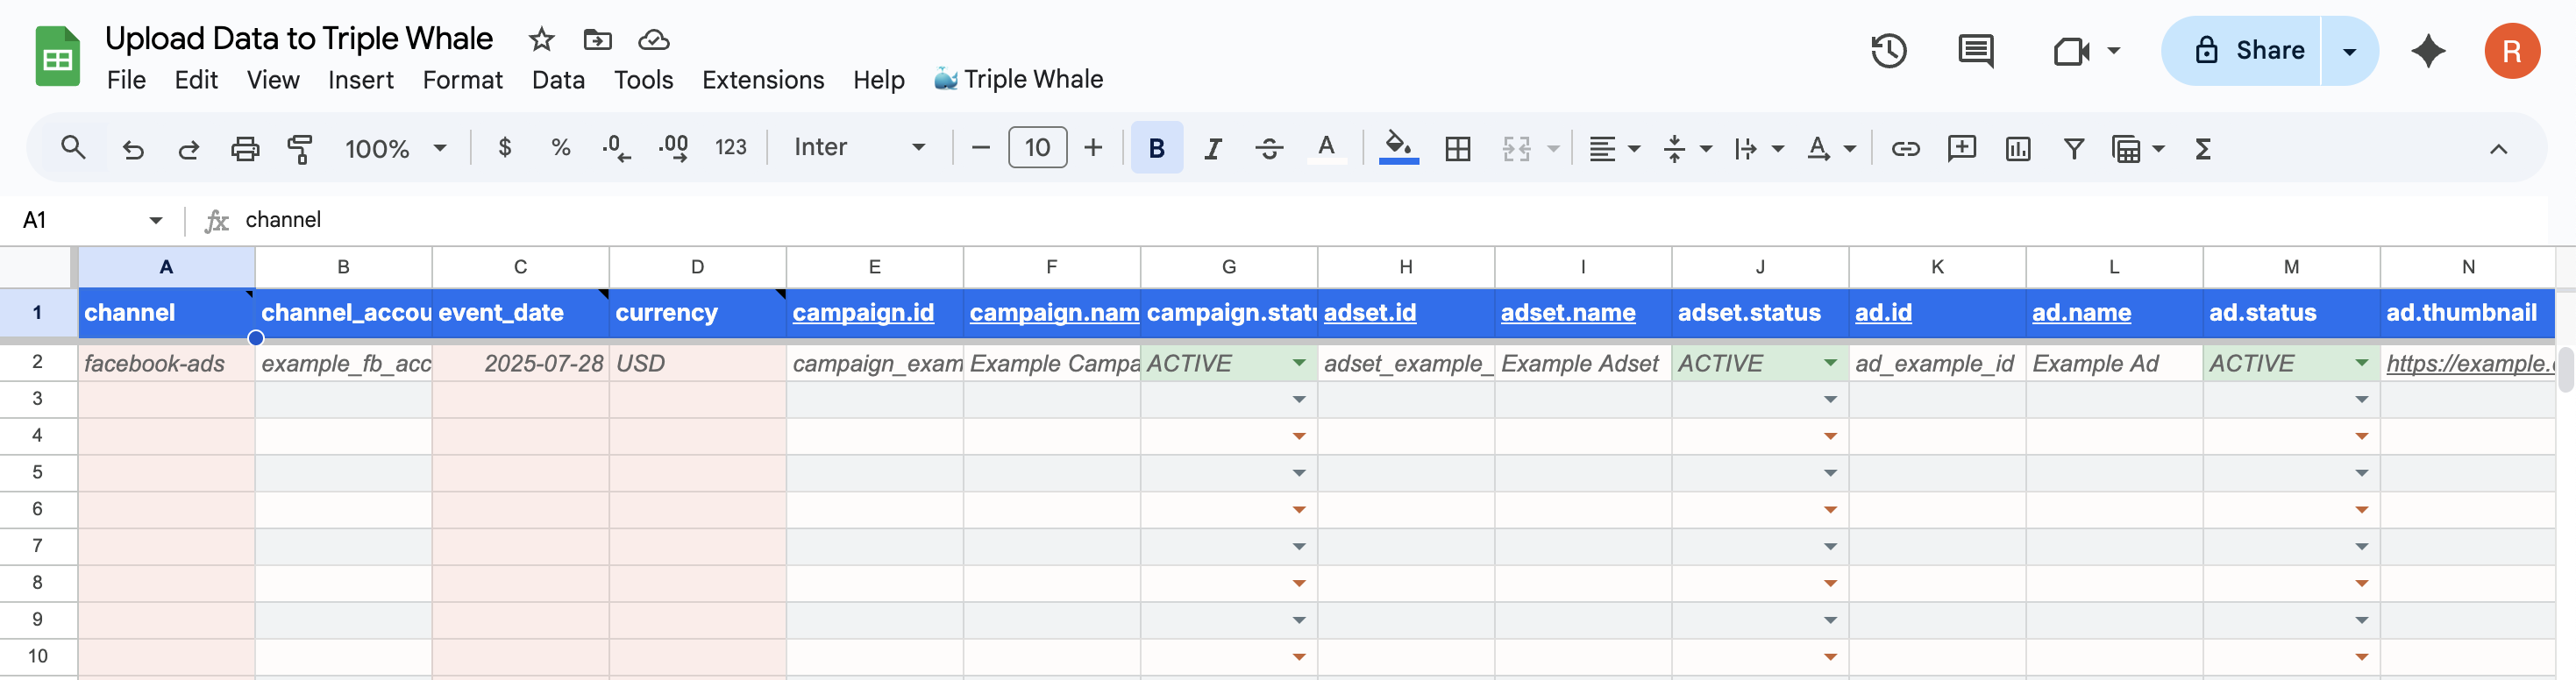
A new sheet will be generated automatically, pre-formatted with the correct columns for the chosen endpoint.
Required fields are highlighted in red.
Step 4. Add and Validate Your Data
-
In the template sheet created in Step 3, replace the sample row with your actual data. Keep IDs and phone numbers as text, and use ISO 8601 date format (e.g.,
2025-01-01T00:00:00Z). Columns with red backgrounds are required fields.Date time zonesGoogle Sheets uses the spreadsheet's time zone for date and time behavior. If your upload includes date values without an explicit time zone offset, click File > Settings, then set Time zone to match the dates in your upload data before adding date values.
-
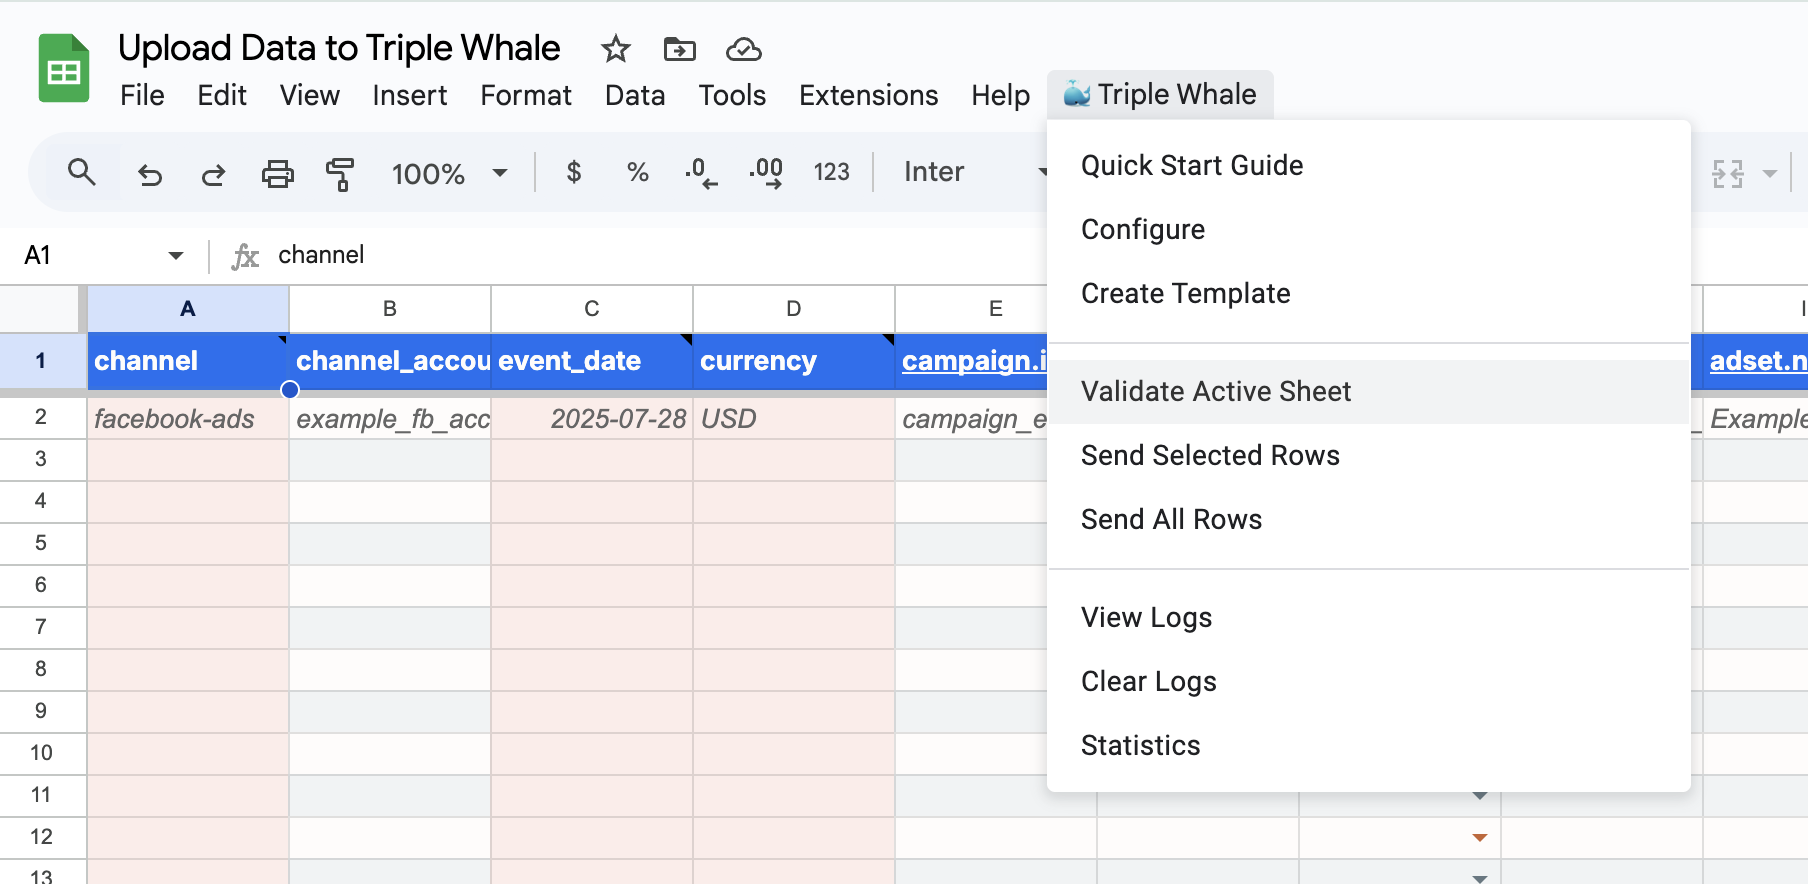
In the menu bar, click Triple Whale → Validate Active Sheet to check for missing or incorrectly formatted fields. Validation results will appear instantly, so you can fix any issues before sending data.
Best Practice: Start with a few rows (5–10) for your first test upload.
Step 5. Send Data to Triple Whale
-
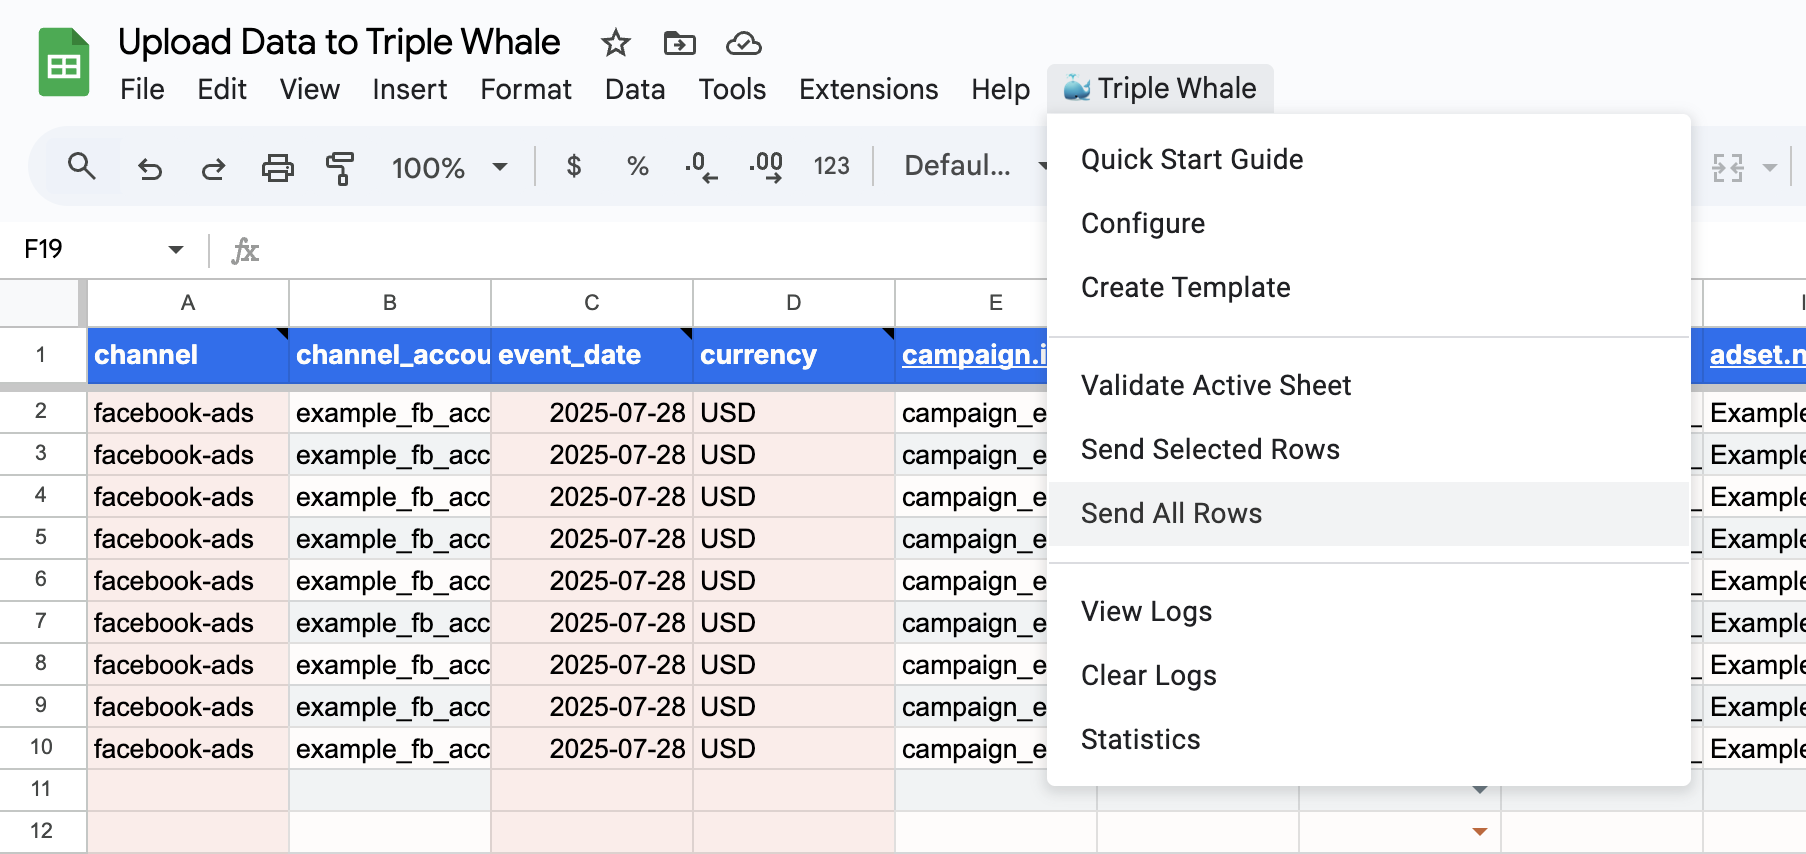
Once your data is ready and validated, click Triple Whale → Send All Rows (or Send Selected Rows to send a subset).
-
The script will process your rows and send them to Triple Whale’s API. Open the
TW_Logssheet to view results, including success confirmations or error messages for each row.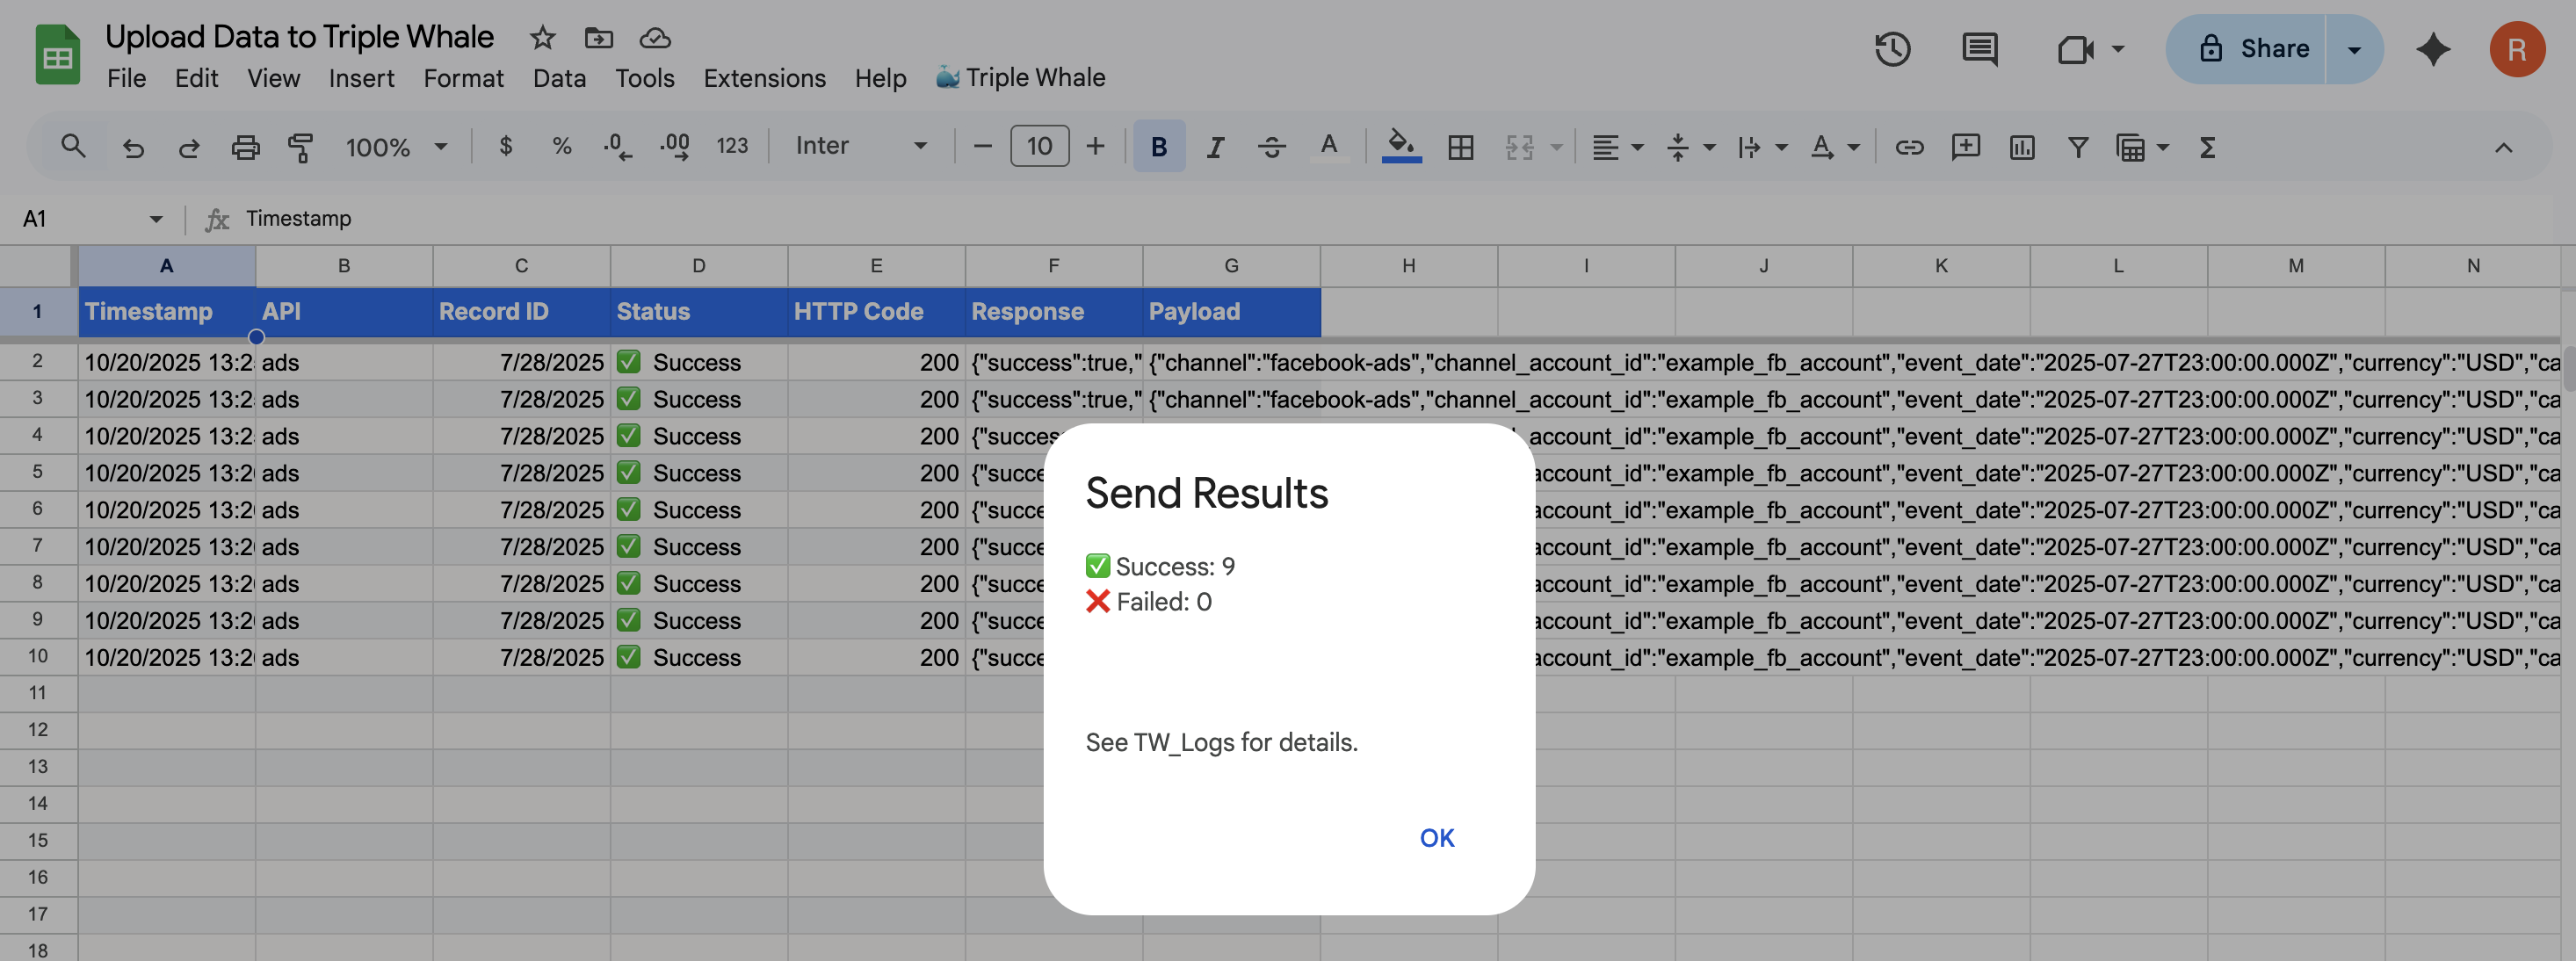
Step 6. Confirm Your Data in Triple Whale
Processing TimeNew data typically appears in your Triple Whale workspace within 5 minutes. Large or historical uploads may take up to 30 minutes.
Once your upload is complete, you can query the data in the Triple Whale app using the SQL Builder. Each record will appear in the appropriate table:
Step 7. Automate Data Uploads (Optional)
You can set your Google Sheet to automatically run uploads to Triple Whale on a schedule using Google Apps Script triggers.
-
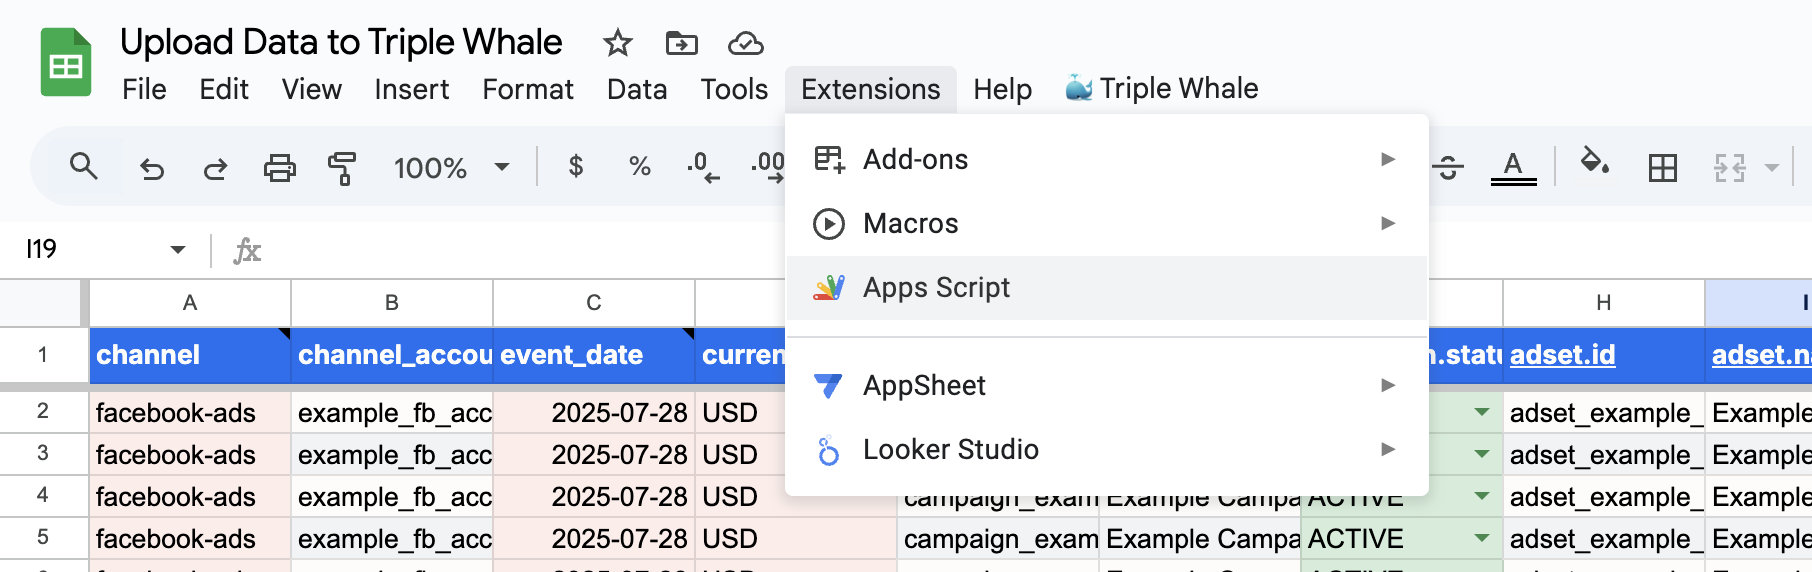
In the top menu of your Google Sheet, go to Extensions > Apps Script.
-
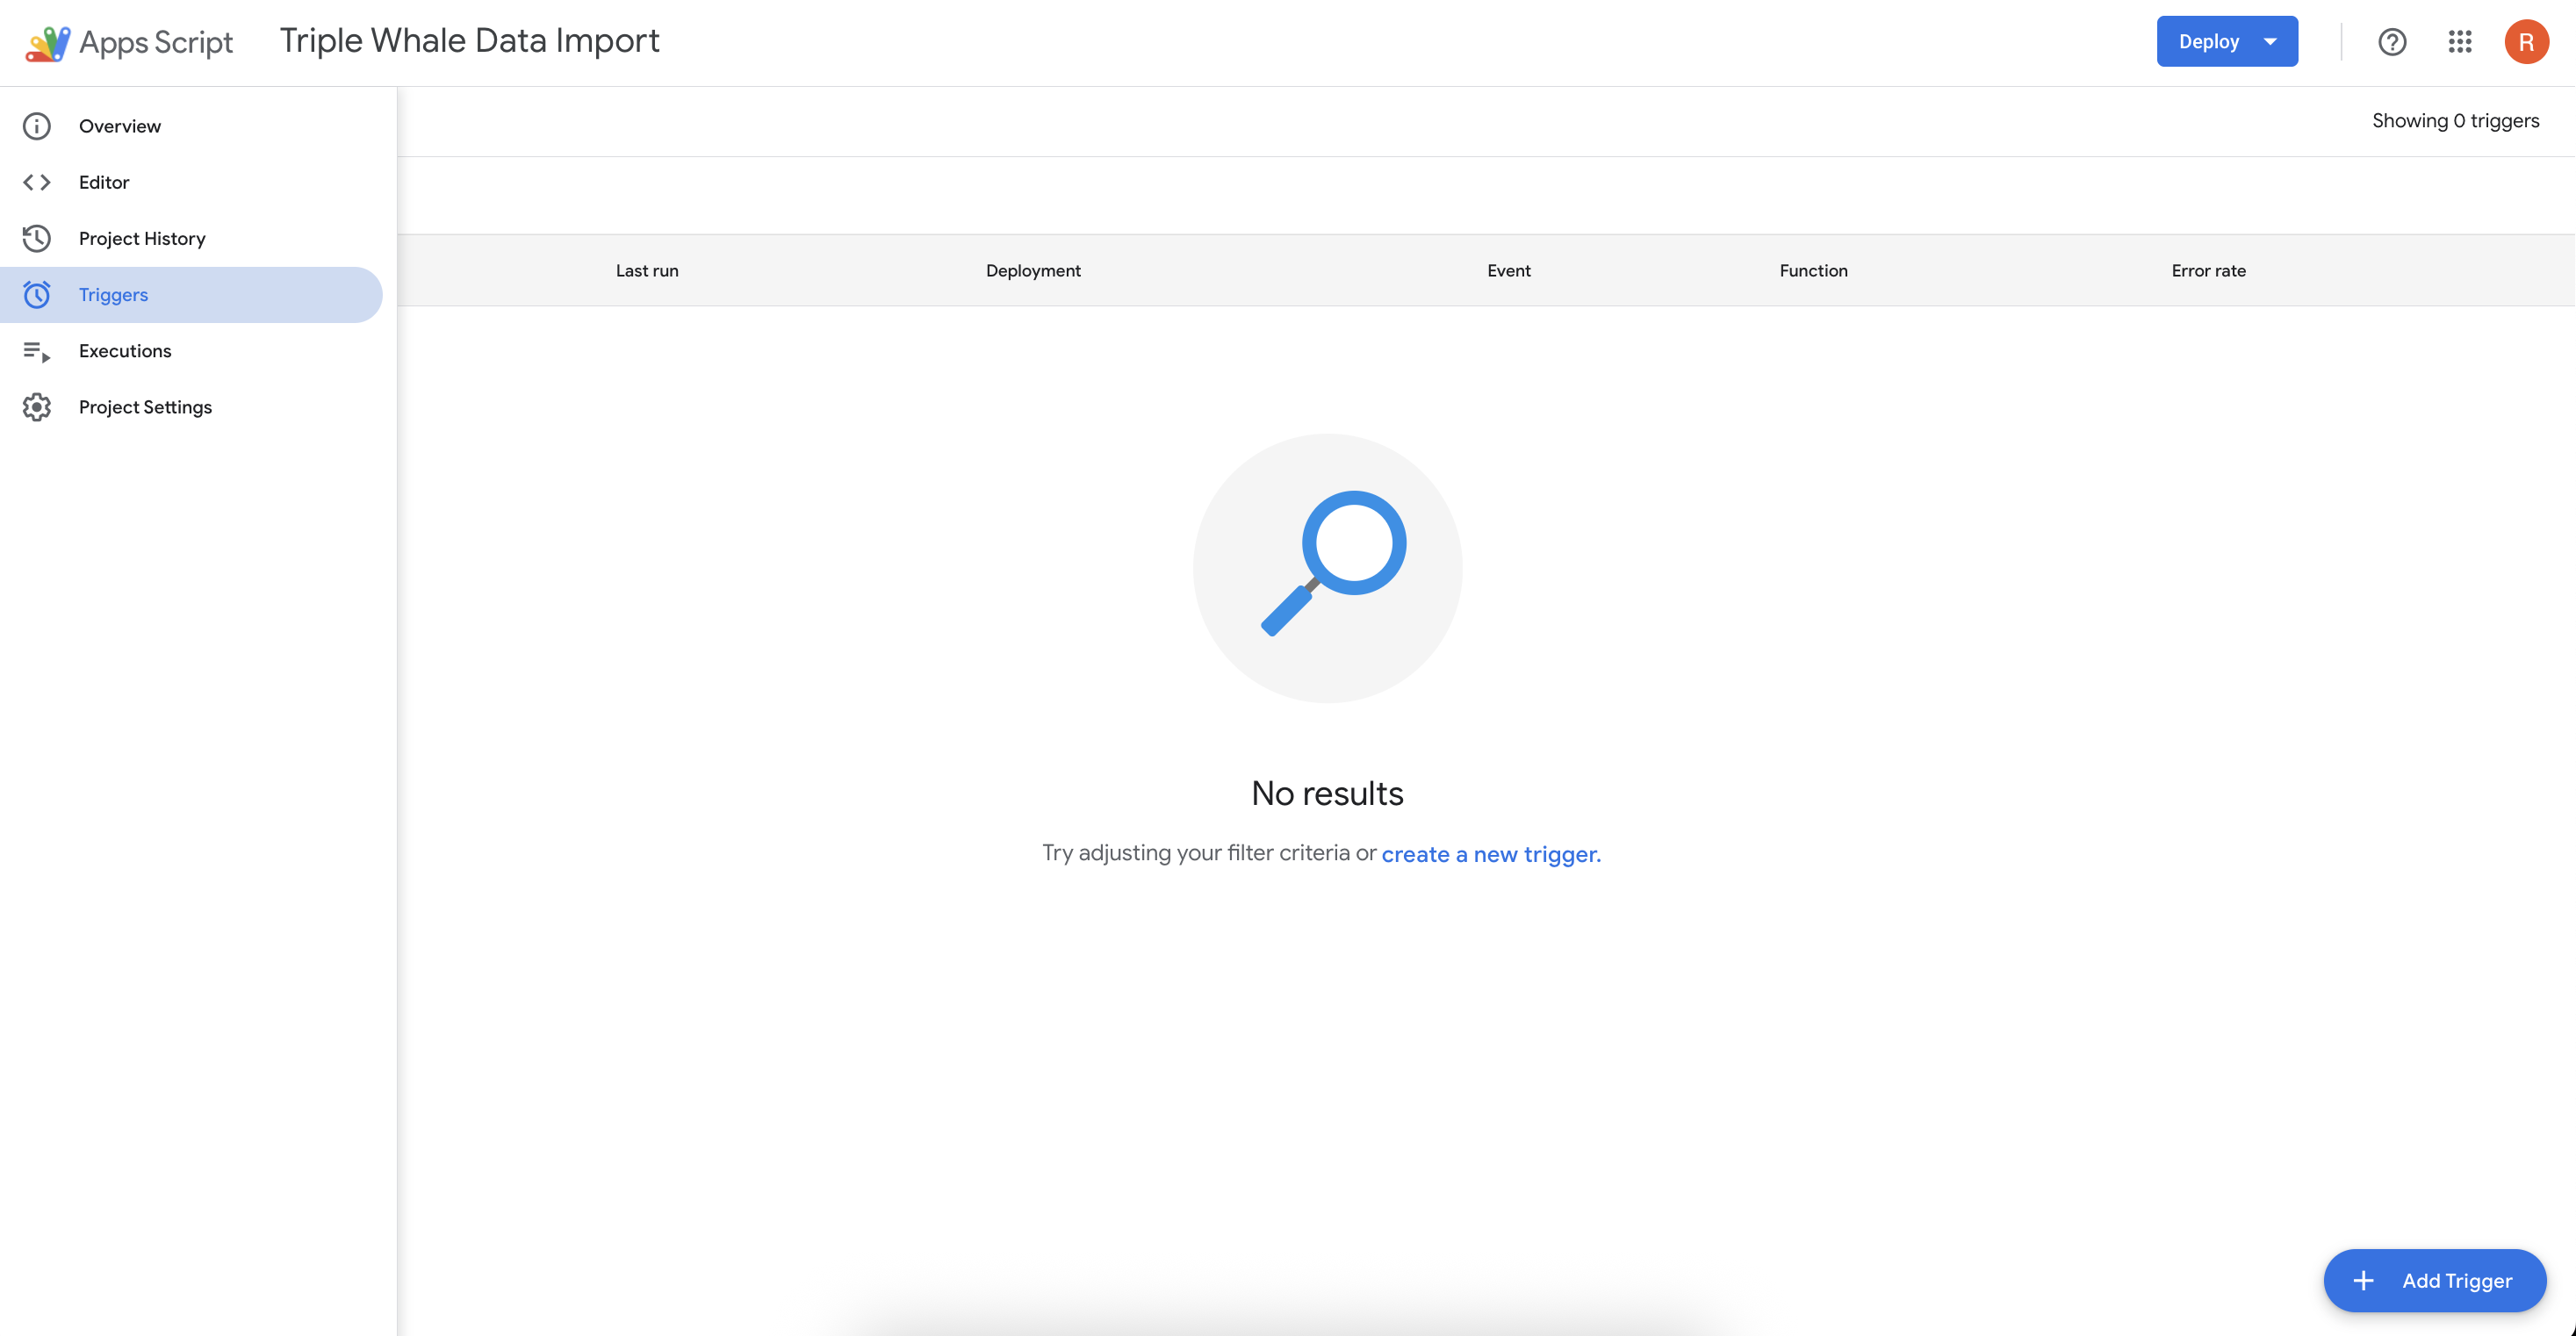
In the Apps Script Editor, select Triggers from the left sidebar.
-
Click + Add Trigger.
-
Configure the new trigger using the following settings:
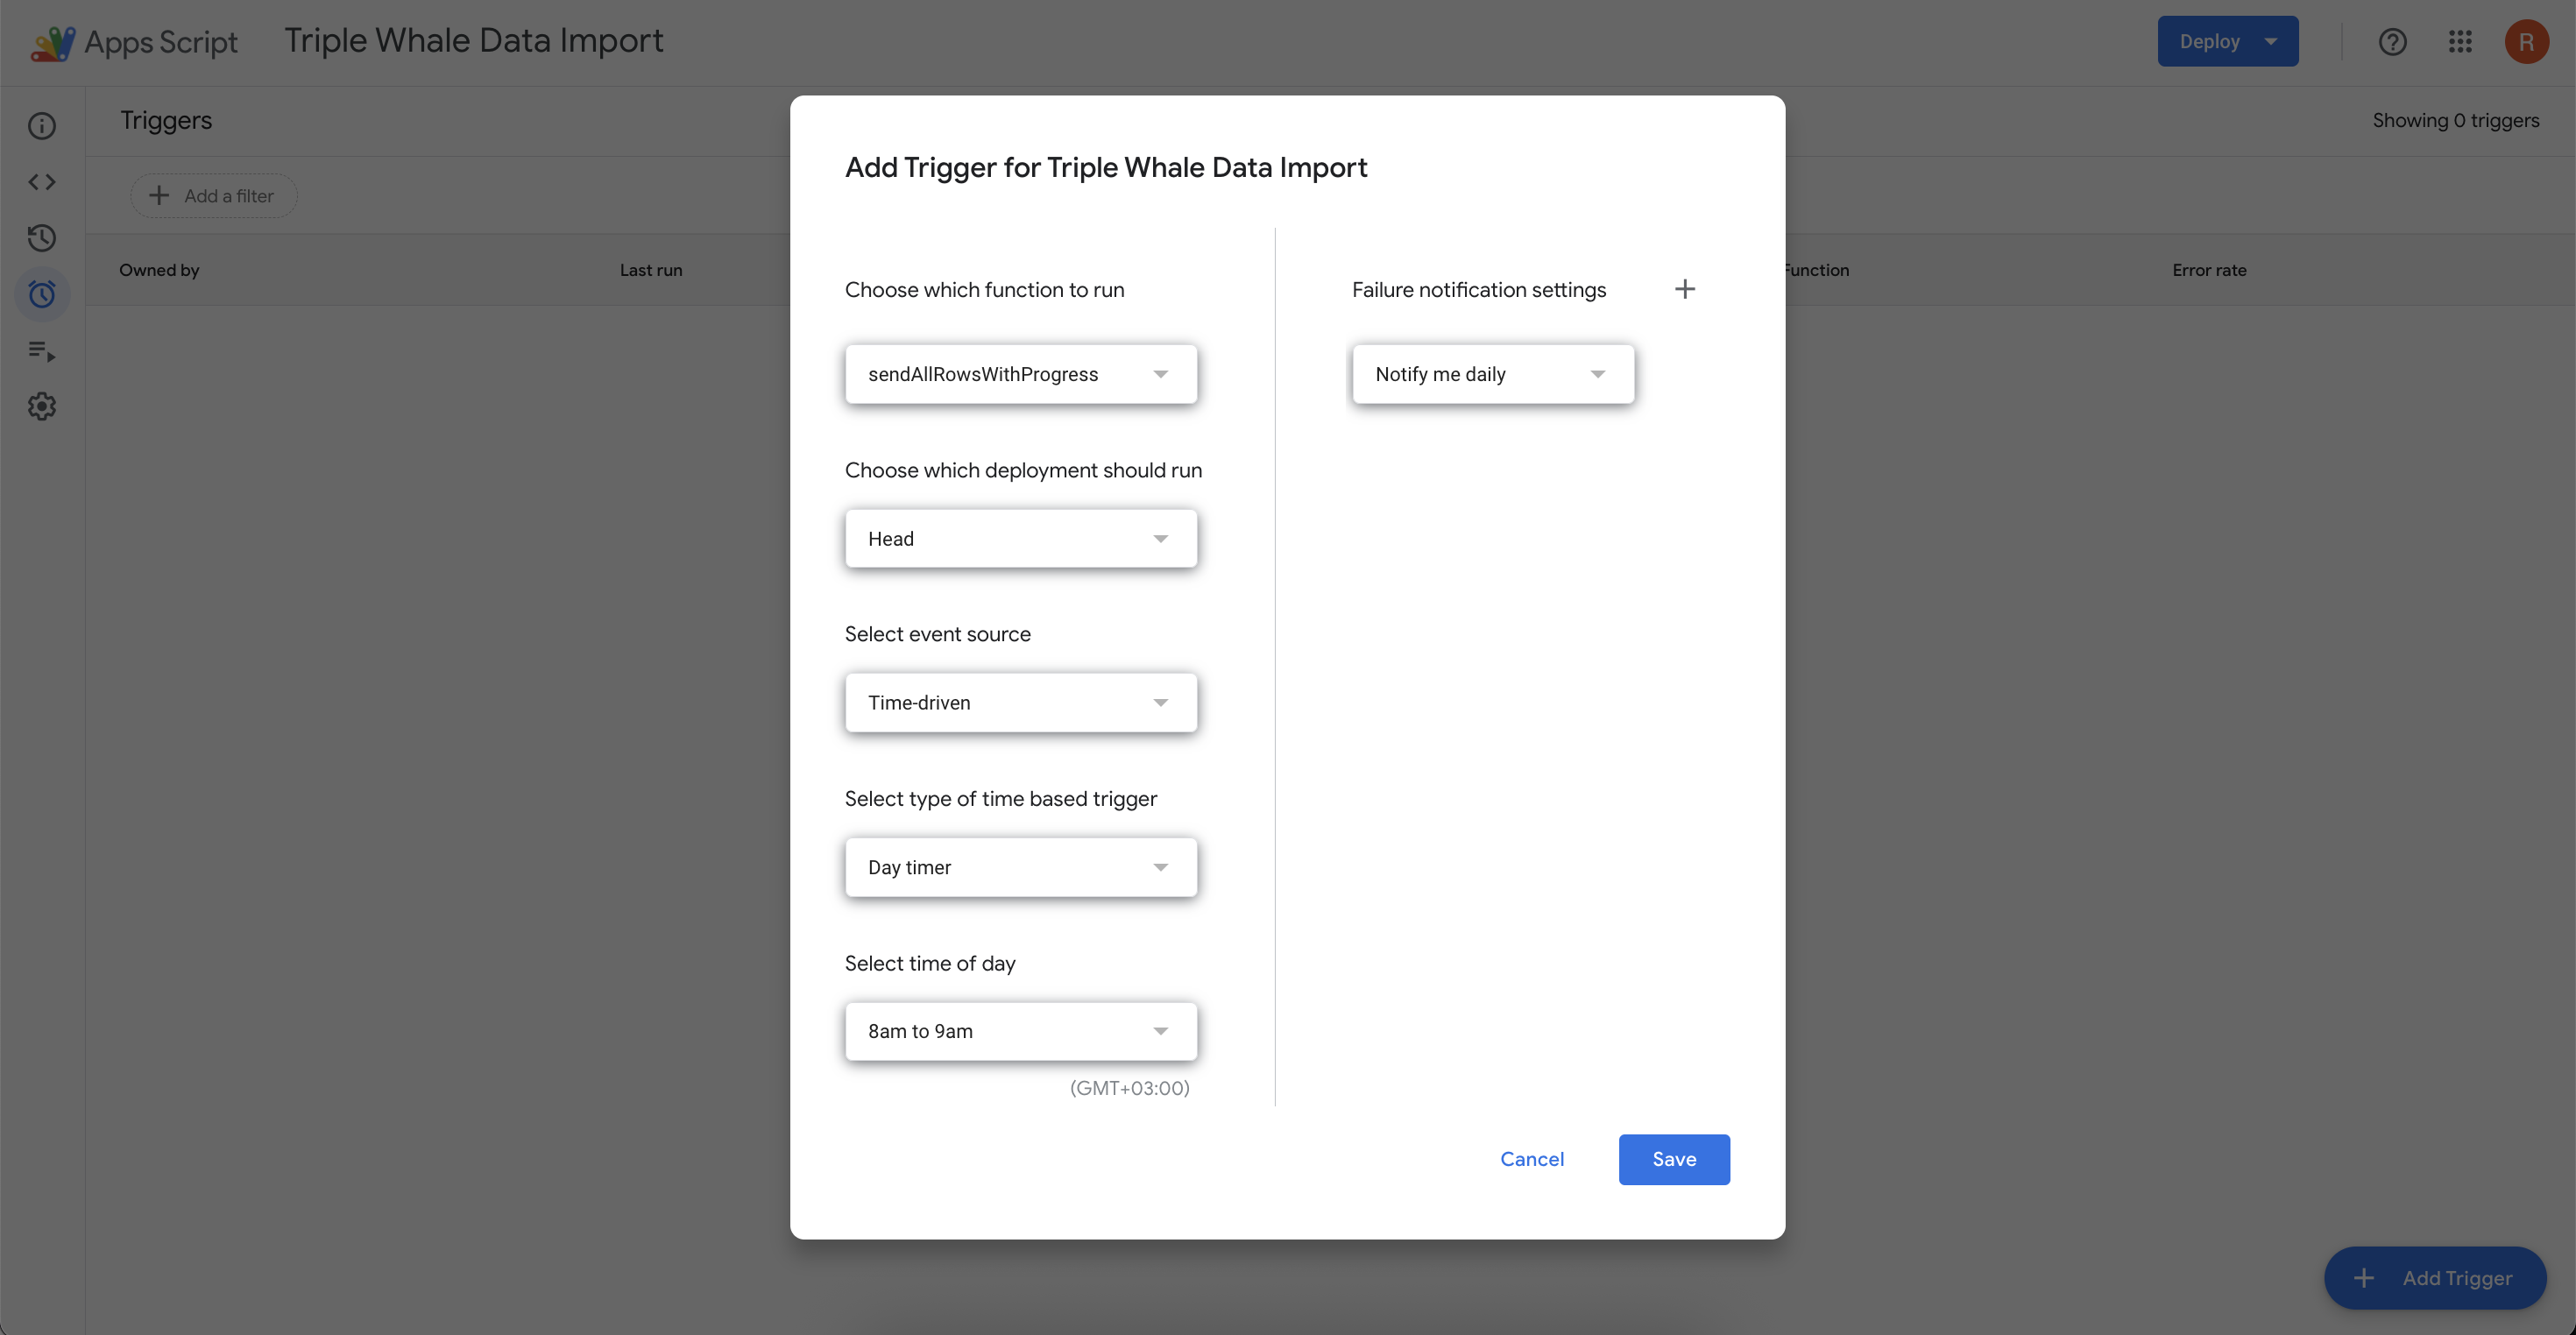
- Choose which function to run:
sendAllRowsWithProgress - Choose which deployment should run:
Head - Select event source:
Time-driven - Select type of time-based trigger: The timing you want the function to run.
- Failure notification settings: The frequency you want to be notified of script errors.
- Choose which function to run:
-
Click Save.
Once saved, the sheet will automatically upload your data to Triple Whale on the schedule you’ve configured.
ImportantScheduling only re-runs the sheet submission — it does not fetch new data automatically.
To truly automate ongoing uploads, make sure your sheet is populated by another process (e.g., a Zapier flow, export script, or data feed) so the scheduled trigger sends fresh data rather than re-exporting the same rows.